Concrete: Getting to know it and the tools needed.
Achieving a flawless finish on concrete requires having the appropriate tools.
Even though it’s a large task, a DIYer can pour concrete effectively. It’s critical to understand the equipment required for the task before starting. This article will go over the fundamental concrete finishing tools required to produce a concrete slab.
There are four categories to talk about:
While the objectives of each category vary, time is a constant. Understanding when to utilise each tool is crucial. This will distinguish between a finish of low quality and one of a professional grade.
The purpose of levelling is to reduce high spots and fill voids until the surface is level with the form boards.
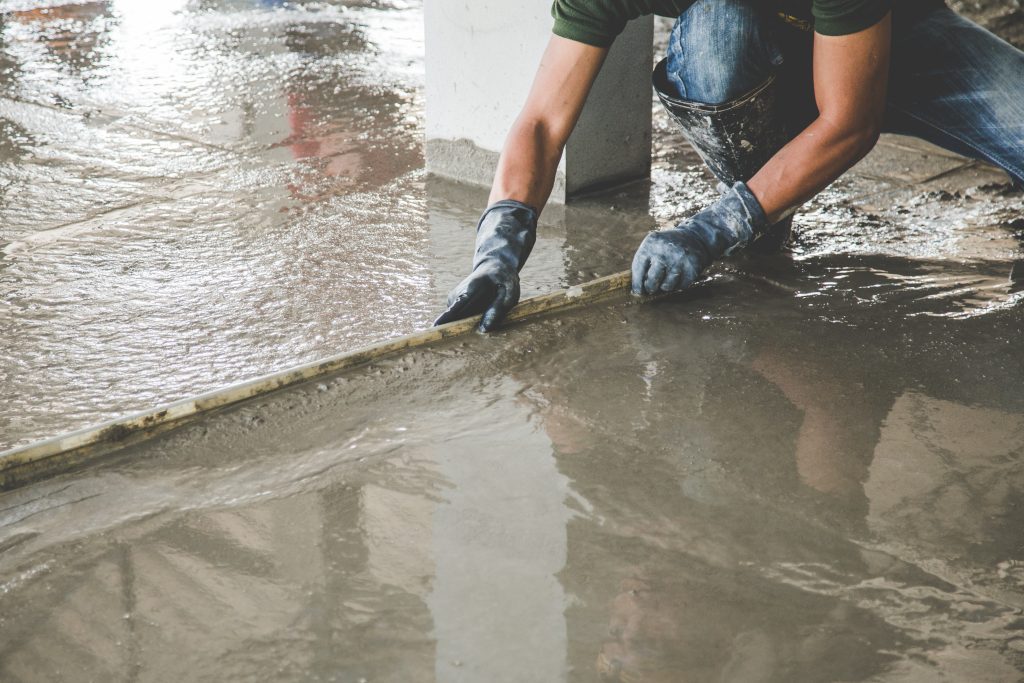
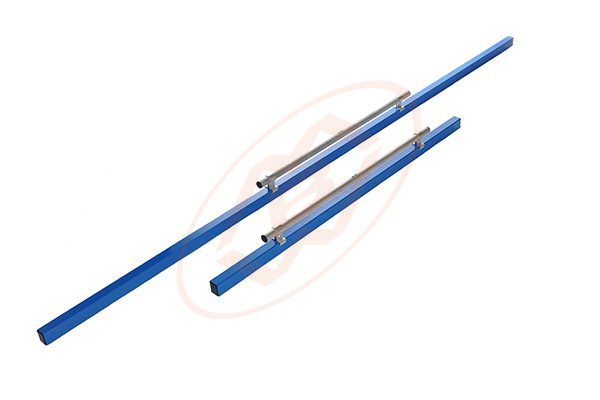
A Hand screed is a straight edge used for levelling concrete. This might be a lightweight aluminium screed that covers the width of the slab available in 1.5m or 3m.
Screeding can take place virtually as soon as the concrete contacts the subbase. You can screed in portions as you pour or wait until the forms are full. Screeding in portions gives more consistent outcomes.
Rest the screed on top of the forms. These will support and help guide the screed. Now, skim the screed over the surface, smoothing out lumps and bumps and filling in low spots. Move in a back-and-forth sawing motion, steadily advancing ahead the length of the slab. If the screed cannot reach low spots, add a handful of excess concrete and repeat the process. If you see any voids that are too deep for the Screed to completely fill, grab a handful of excess concrete and toss it into the void. Then, screed over the area again to level it.
Repeat this process until you’ve screeded the entire length of your slab.
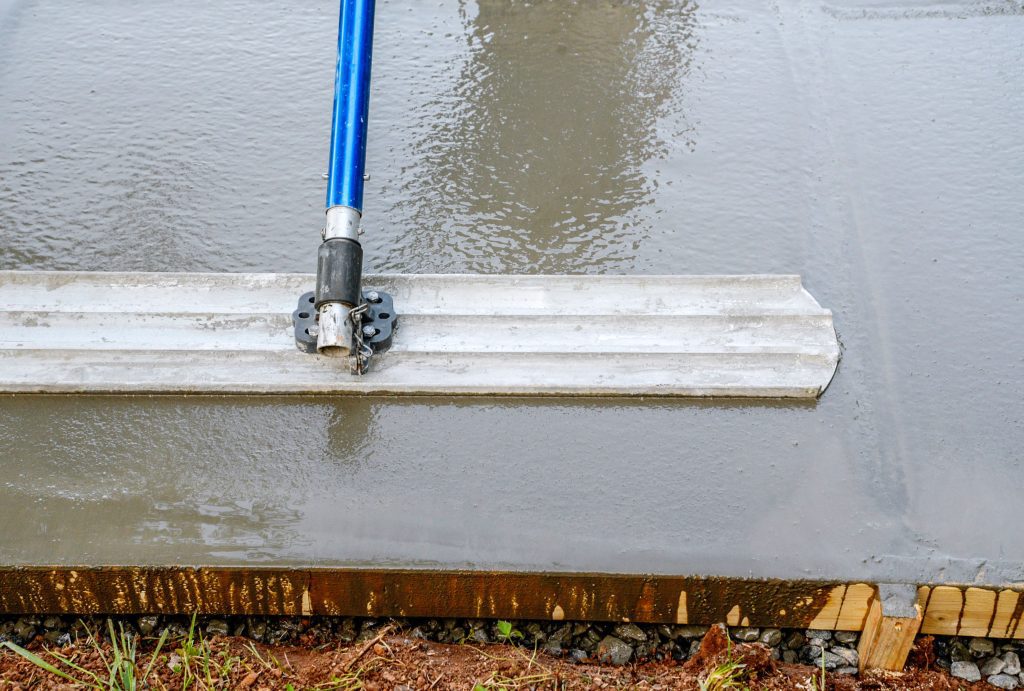
Both Lightweight Bull float and derbies are a concrete finishing tool that presses down the aggregate while bringing the cream, or paste, to the top. It also assists to smooth off any residual surface irregularities. A lightweight Bull Float is hooked to a 36” / 48” / 60” handle, allowing you to effortlessly level the majority of a slab. Darbies are handheld tools with a long blade that are ideal for levelling the edge of a slab.
This can happen right after screeding, when the concrete is still wet.
Place the Bull Float on the concrete and push the tool forward until you’ve reached the width of the slab or can’t go any farther with the handle. Then, pull it back towards you.
The smoothing procedure seeks to make the surface as flat as possible for a stronger, more visually pleasing overall finish; nonetheless, it is critical to understand when to begin this stage.

This procedure consolidates aggregate, pulls cream to the top, and slices to the appropriate height with a single instrument. It also helps to eliminate flaws, leaving you with a flatter, smoother surface.
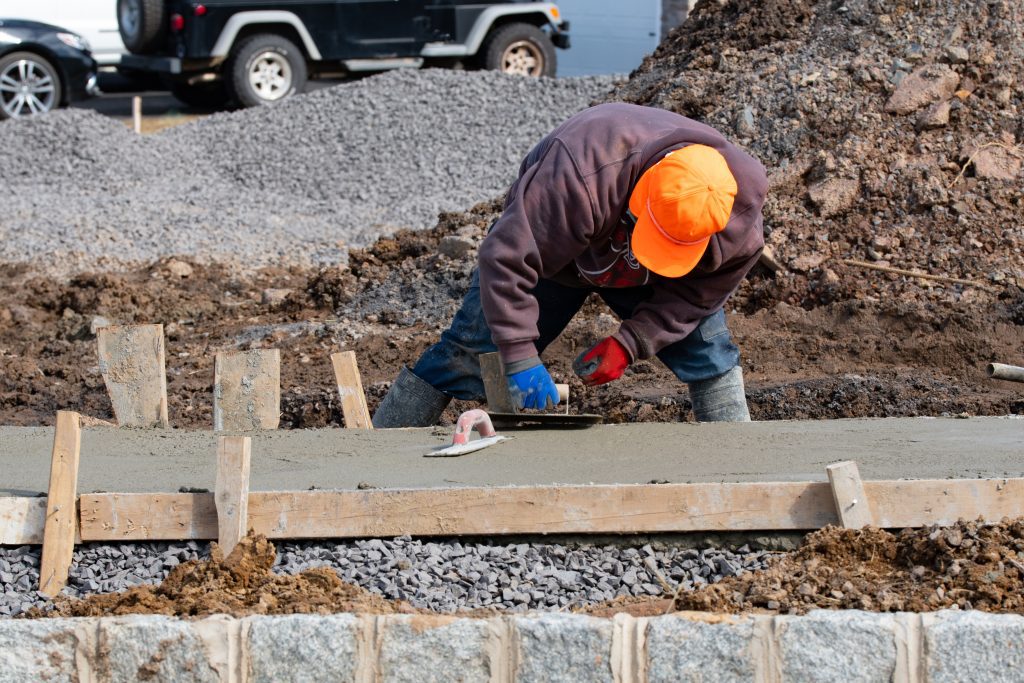
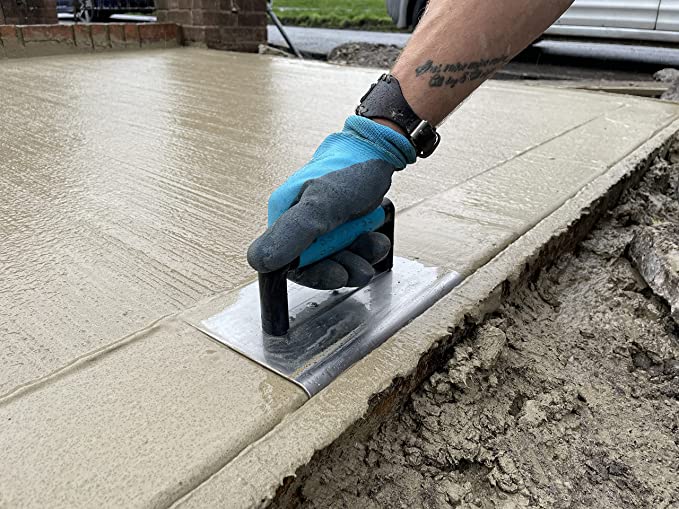
Only start hand trowelling concrete when pressing the palm of your hand into the surface leaves an indentation between ¼” to ⅜”.
Hold the hand trowel at a 45° angle to prevent the tool from gouging the concrete. Then run the trowel over the surface. You can use a variety of movements: arcs, sweeping motions, or running the tool back and forth. Be sure to use light pressure!
On site, the Crack Prevention and Smoothing procedures are inextricably linked since they occur simultaneously. If crack prevention tools leave irregularities on the surface, just smooth them out using your smoothing tools.
A tool with a wide flat blade and radius edge is used to round the edges of a concrete slab and prevent chipping.
Use this tool after the smoothing process, when the concrete is hard but not solid.
Using the forms as a guide, run the tool in long, sweeping strokes over the slab’s edges until they are smooth, solid, and straight. Walking edgers work the same manner, but you may stand and walk behind them. Use a hand float to smooth any edger markings.
Groovers exist in a variety of forms and sizes, but they always serve to manage concrete joints or grooves (where cracks occur). Cracks will occur along the groove line, leaving the slab’s surface pristine for many years. These are available in both handheld and handled variants.
When: You may use this tool before or after edging.
First, extend Mason’s Line over the slab or use a screed as a guide line. Next, shimmy the groover into the concrete. Run it back and forth in tiny increments until the groove reaches the opposite side of the slab.
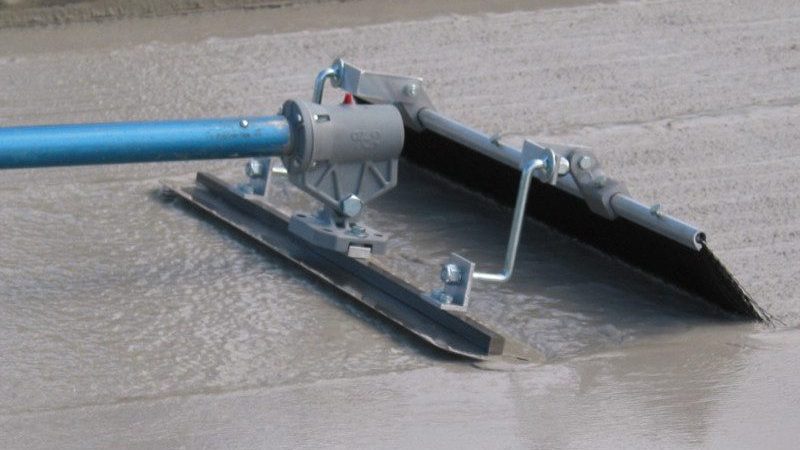
This is the time to use a Fresno broom for a decorative non-slip concrete finish.
Concrete brooms are used to roughen the surface of concrete to provide a non-slip finish that is pleasant to walk on. These are available in 36” / 48” / 60” Handles
Brooming should be done while the concrete is still soft; however, all bleed water should have evaporated before brooming. Typically, this occurs immediately after the smoothing and fracture prevention operations.
With patience and a steady hand, position the broom at the far end of the slab and draw it straight back in one continuous stroke. Don’t stop or twist. Repeat until the slab is completely broomed. If you make a mistake, do not attempt to repair it with the broom. Instead, go over it one more with your hand float and try again.
Knowing what these tools are, when to use them, and how to use them will help you with your next concrete project! And of course, if you need any help selecting products or just want some advice contact us here at MBW Europe for professional advice from experts with in the industry!
Put your new knowledge to the test and pour your own concrete slab.
Forward Travel Plate Compactors
Reversible Plate Compactors
Trench Rammers
Roller Attachments
Rammed Earth
Walk Behind Power Trowels
Ride on Power Trowels
Concrete Screed Units
QHT Range
Concrete Pokers
Concrete Sprayers
Pans & Blades
Floor Saws
Liquid Screed
Units 2 & 3 Cochrane Street
Bolton
BL3 6BN

fired.fuel.pages
+44 (0) 1204 387784
sales@mbweurope.com
Company Reg No: 02107644